Investate online estate agent enables property vendors to save money by providing their own property photography. The photography produced by the property vendor must meet a specific criteria to pass our quality review process. This post provides guidance and examples, with 6 tips for better property photography.
Please do not misconstrue this post as being a guide to producing professional photography. Reading on will not make you become the David Bailey of property photography. The intention is to produce a guide which doesn’t require our property vendors to purchase expensive equipment such as camera stands, DSLR cameras and wide angle lenses. If you would prefer professional photography it’s much more cost effective for us to provide this service for you.
6 Tips For Better Property Photography
1. Blurred Lines
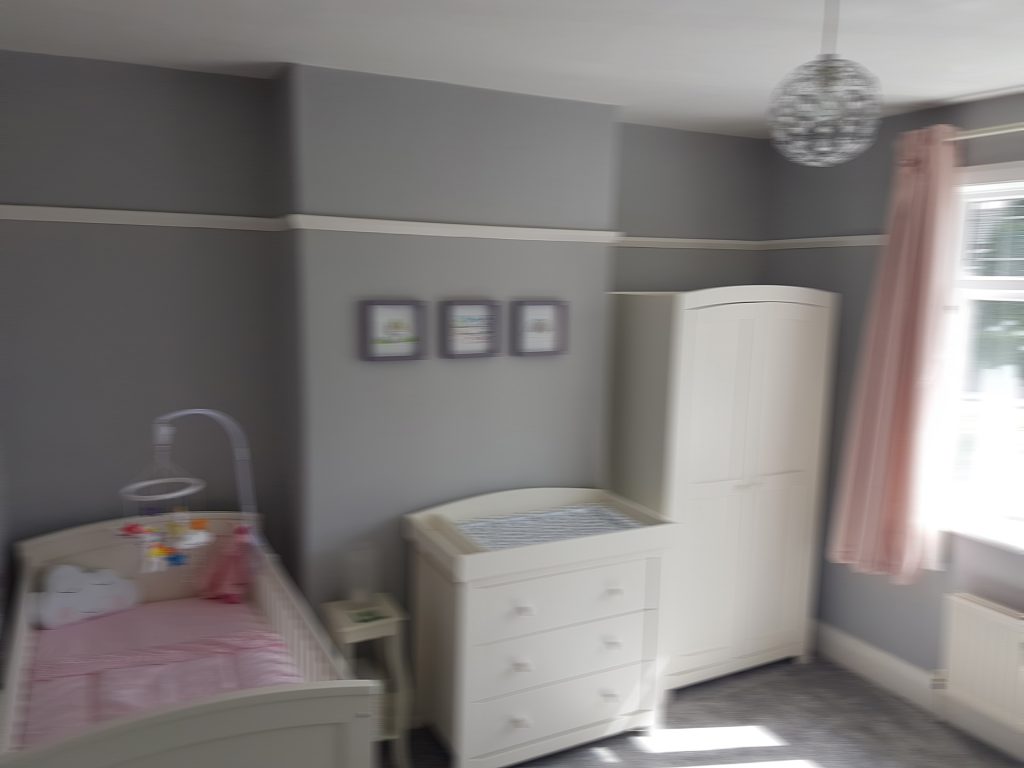
I’m not referring to a pop song by Robin Thicke here, but instead to the clarity of your photography. There are many reasons for blurred photography such as incorrect shutter speed, a moving subject/camera, aperture issues, poor focus and even a dirty lens! Unfortunately photographs that have poor focus will be declined from our quality review process.
When taking photographs you must remain extremely still. If you have a side table or a window sill to balance your camera on this may provide sufficient stability. With regards to the focus levels, most digital cameras and smart phones have an auto focus feature whereby you can either tap the screen (in the case of smartphones) or lightly press the shutter button (in the case of digital cameras) to automatically focus on your subject.
2. As Dull as Ditchwater
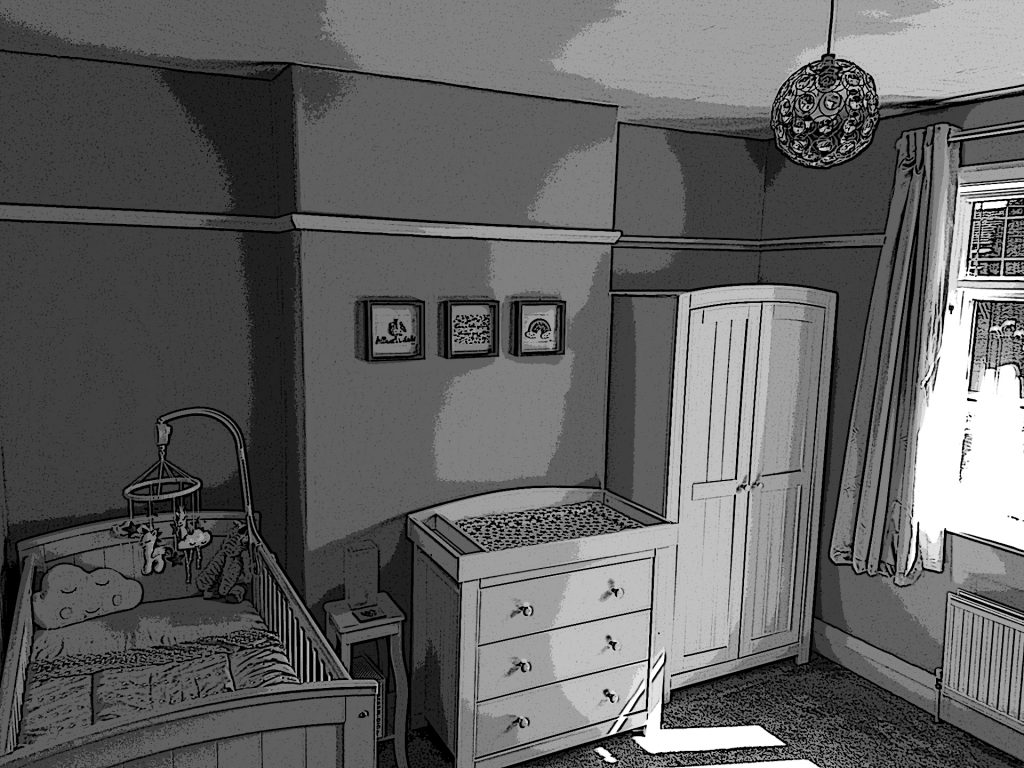
The time of day is important when you are taking photographs, since poor lighting can have an adverse effect on the resultant composition. The photograph below was taken late in the afternoon when the sun was beginning to set. You can see that it’s rather dull, we lose the richness of colour and it makes the room look smaller. Photographs like this may be declined from our quality review process at the reviewers discretion.
Unfortunately setting your camera to automatically flash is not always the solution. The automatic flash feature can often make colours look different than they do in their natural state, which doesn’t always look great. You may instead want to look at increasing your cameras exposure and ISO levels. Turning lamps and lights on in the room can often create a warm, homely atmosphere and can assist in adding more dramatic lighting.
3. Filters
As much as we like filters, we cannot accept these as part of your property submission. Unfortunately filters don’t reflect the true state of the property, and we can only accept photography in its original state. Filters include anything (for example grey scale, sepia) that does not reflect the original state of the photograph. Filtered photography will be declined from our quality review process.
4. Poor Composition
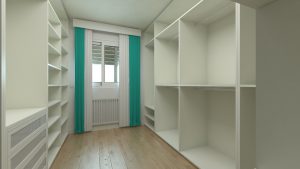
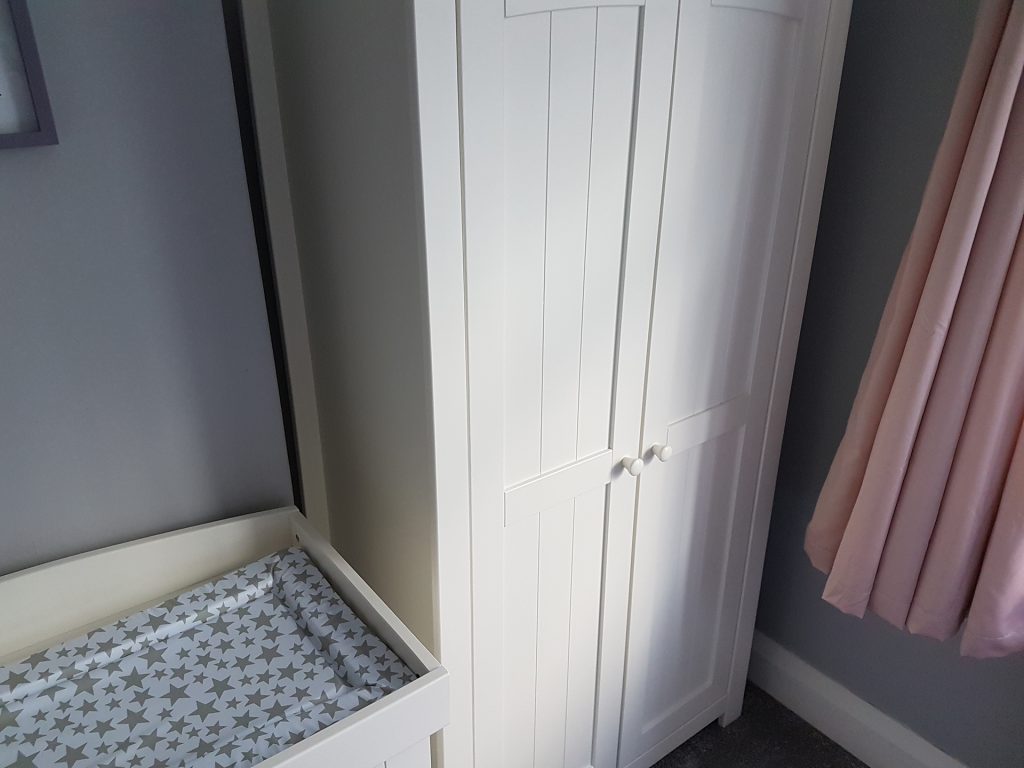
Composition is of paramount importance when taking attractive, well-balanced photographs. It is important to compose your photograph such that you maximise the view of the room/scene you are capturing. The photograph below looks like an advert for selling a wardrobe. The composition is poor, and it tells us very little about this room. Photography that has been poorly composed will be declined from our quality review process.
Using selfie sticks can assist in gaining a better viewing angle – especially when indoors. You can also follow the various rules of composition such as Framing, Rule of Thirds and Leading Lines.
5. Don’t Air Your Dirty Laundry
When you compose your photograph, it’s important that your room is sufficiently clean and uncluttered. We are trying to create the illusion of space and cleanliness. It’s also a reflection of how you are as a person, and this will relate to how well (or indeed not) you have looked after your property.
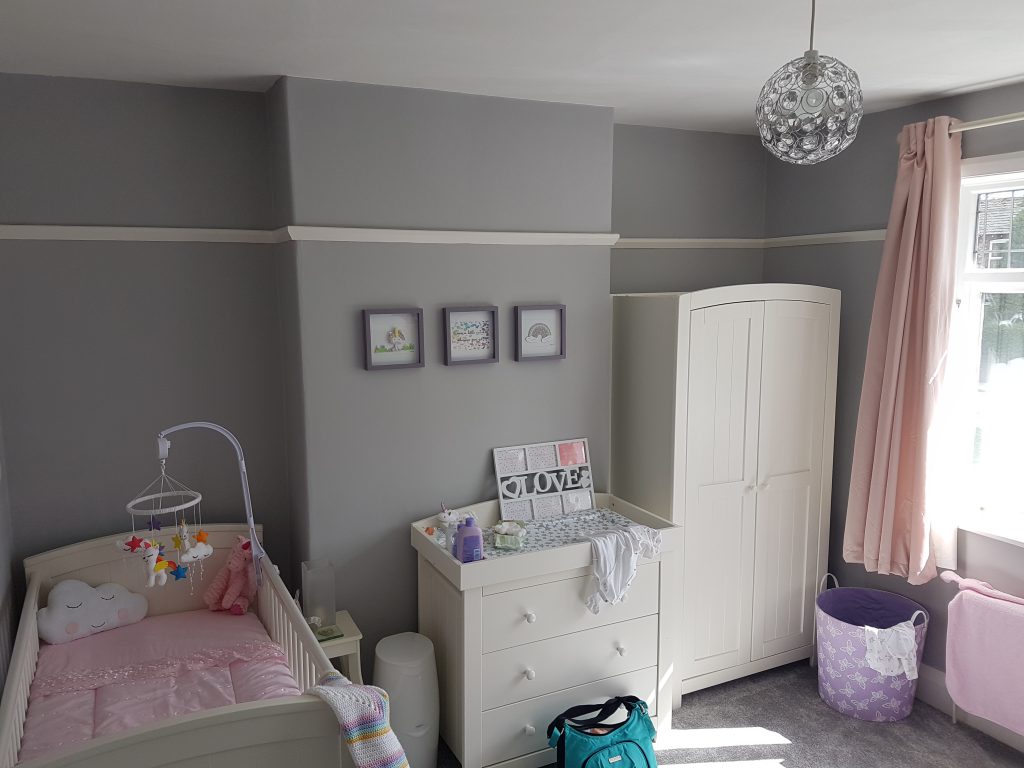
You can see in the photograph below that there is clothing hung over furniture, a cluttered side table containing bottles and baby wipes, and bags/baskets on the floor. All items like this should be tidied away before taking your photograph. You should also fluff up your pillows, make your bed, hoover the carpet, mop the floor and any other weekly chores! You will also note that the bin has been removed – removing objects like this can help to create the illusion of more space.
Untidy photographs like this may be declined from our quality review process at the reviewers discretion.
6. Picture Perfect!
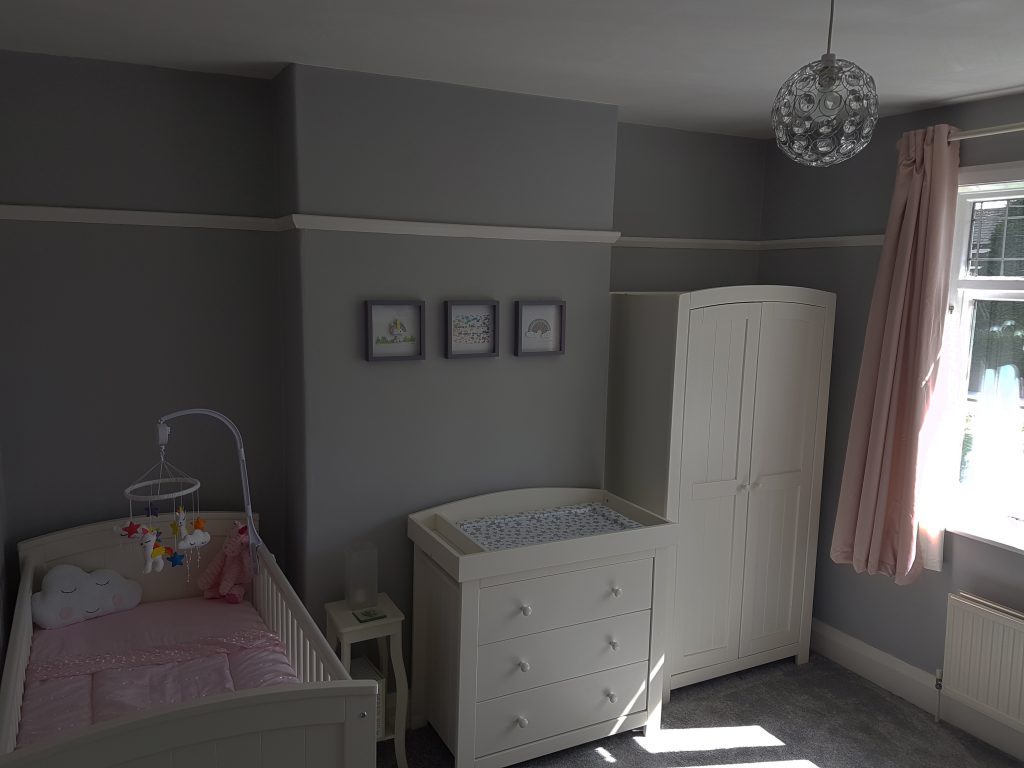
Below is an example of the standard of photography that we require. Note that the focus is sharp, the lighting is good (this photograph was taken in the morning on a sunny day), no filters have been applied and the room has been tidied up. The minimum resolution of photograph that we require is 900 pixels wide by 600 pixels high – most smartphones and digital cameras should take photographs at a higher resolution than this by default.

Thank you for reading 6 tips for better property photography. Hopefully you can use these tips to sell your home by yourself and use our free platform to create your property listing.